A running toilet can be both annoying and costly. Not only does the constant sound of running water disrupt your peace, but it also wastes a significant amount of water, which can lead to higher water bills. Fortunately, fixing a running toilet is a relatively straightforward DIY project that doesn’t require advanced plumbing skills. In this guide, we’ll walk you through the steps to diagnose and fix a running toilet.

Tools and Materials You’ll Need:

  1. Adjustable wrench
  2. Screwdriver
  3. Toilet flapper replacement kit (if necessary)
  4. Replacement fill valve (if necessary)
  5. Bucket
  6. Towel or sponge

Step 1: Diagnose the Problem

Before you can fix your running toilet, you need to determine what’s causing the issue. There are a few common culprits:

  1. Faulty Flapper: The flapper is a rubber valve that seals the flush valve. If it’s worn or damaged, water can leak from the tank into the bowl.
  2. Overflow Tube Issues: If the water level in the tank is too high, it can overflow into the overflow tube, causing a continuous flow into the bowl.
  3. Faulty Fill Valve: The fill valve controls the water level in the tank. If it’s malfunctioning, it can lead to a constant flow of water.

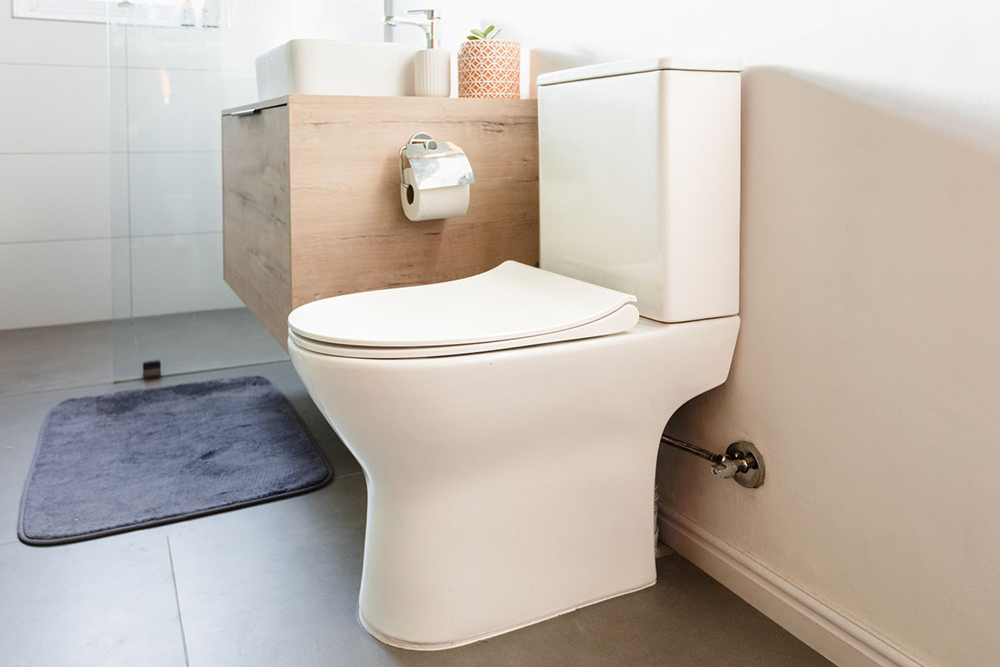
Step 2: Turn Off the Water Supply

Locate the shut-off valve on the wall behind or beside the toilet. Turn it clockwise to shut off the water supply to the toilet. Flush the toilet once to empty the tank completely.

Step 3: Remove the Tank Lid

Lift the tank lid off and place it in a safe spot where it won’t get damaged.

Step 4: Check the Flapper

Inspect the flapper for any signs of damage or deterioration. If it looks worn or has mineral deposits, it’s a good idea to replace it. Flapper replacement kits are widely available at hardware stores and come with easy-to-follow instructions.

Step 5: Adjust the Chain (if necessary)

If the flapper appears to be in good condition but the toilet is still running, check the chain that connects the flapper to the flush lever. Ensure that it has some slack but is not too loose. Adjust it if needed.

Step 6: Check the Water Level

Look inside the tank and check the water level. It should be about half an inch below the overflow tube. If it’s too high, adjust it by adjusting the float on the fill valve. Follow the manufacturer’s instructions for your specific fill valve model.

Step 7: Replace the Fill Valve (if necessary)

If adjusting the water level doesn’t solve the problem and the fill valve is old or malfunctioning, it may need to be replaced. Turn off the water supply, disconnect the water supply line from the fill valve, and follow the instructions that come with the replacement fill valve.

Step 8: Turn On the Water Supply

Once you’ve made the necessary repairs or replacements, turn the water supply back on by rotating the shut-off valve counterclockwise.

Step 9: Test the Toilet

Flush the toilet to ensure that it’s no longer running and that it refills to the correct water level. Listen for any unusual sounds or leaks.

Step 10: Reassemble and Clean Up

Replace the tank lid, and make sure everything is in order. Clean up any water spills or mess with a towel or sponge.

Fixing a running toilet is a DIY task that can save you money on water bills and prevent the annoyance of a constantly running fixture. By following these simple steps and troubleshooting common issues, you can have your toilet working properly in no time. If you’re ever unsure about the process or encounter a more complex problem, don’t hesitate to seek professional plumbing assistance.

Pipe corrosion is a natural process that occurs over time, causing damage to pipes and infrastructure. Understanding how pipe corrosion works is essential for maintaining the integrity of plumbing systems, industrial pipelines, and other critical infrastructure. In this blog post, we’ll explore the mechanisms behind pipe corrosion, its causes, and ways to prevent it.

The Basics of Pipe Corrosion

Corrosion is a chemical process in which metal materials react with their environment, leading to the deterioration of the metal. In the context of pipes, this can result in reduced functionality, leaks, and even structural damage. Pipe corrosion occurs primarily due to electrochemical reactions, and several key factors contribute to this process.

  1. Electrochemical Reactions: Corrosion involves the flow of electrons between two different metals or materials within the pipe system. This flow of electrons leads to the formation of compounds that weaken the metal’s structure. The primary electrochemical reactions responsible for pipe corrosion include oxidation and reduction processes.
  2. Oxidation and Reduction: Oxidation involves the loss of electrons from a metal, resulting in the formation of metal ions. This process often occurs at the anode, which is the part of the metal where corrosion initiates. Reduction, on the other hand, is the gain of electrons, typically occurring at the cathode. This process completes the electrochemical circuit and facilitates the corrosion process.
  3. Electrolytes: For corrosion to occur, there must be a conductive medium to facilitate the flow of electrons. In most cases, water serves as the electrolyte, allowing ions to move between the anode and cathode. The presence of dissolved salts and impurities in the water can accelerate the corrosion process.

Causes of Pipe Corrosion

Pipe corrosion can be attributed to several factors, both internal and external. Understanding these causes is crucial for effective corrosion prevention. Some common causes of pipe corrosion include:

  1. Chemical Reactions: The presence of aggressive chemicals in the fluid flowing through pipes can accelerate corrosion. Acids, alkalis, and corrosive gases can all contribute to the breakdown of metal materials.
  2. Oxygen Exposure: Oxygen is a major contributor to corrosion, especially in the presence of moisture. Oxygen reacts with metals, leading to the formation of oxides that weaken the pipe’s structure.
  3. Temperature Variations: Rapid temperature fluctuations can cause pipes to expand and contract, leading to stress corrosion cracking. This is especially common in high-temperature industrial environments.
  4. Microbiologically Induced Corrosion (MIC): Microorganisms such as bacteria can thrive in pipes and produce corrosive byproducts. MIC can lead to localized pitting corrosion, which can be challenging to detect and mitigate.

Preventing Pipe Corrosion

Preventing pipe corrosion is essential to extend the lifespan of pipelines and ensure their safe operation. Here are some strategies to mitigate and prevent corrosion:

  1. Protective Coatings: Applying protective coatings, such as epoxy, paints, or polymers, can create a barrier between the metal surface and the corrosive environment, reducing the risk of corrosion.
  2. Cathodic Protection: This technique involves the use of sacrificial anodes or impressed current systems to protect the pipe’s metal from corrosion. Cathodic protection systems supply a flow of electrons to the pipe, preventing oxidation.
  3. Material Selection: Choosing corrosion-resistant materials for pipe construction, such as stainless steel or plastic, can significantly reduce the susceptibility to corrosion.
  4. Regular Maintenance: Routine inspections and maintenance can help detect corrosion early and prevent its progression. Cleaning, flushing, and repairing damaged coatings are essential maintenance tasks.

Understanding how pipe corrosion works and its underlying mechanisms is crucial for maintaining the integrity of pipelines and plumbing systems. By identifying the causes and implementing preventive measures, we can ensure that pipes remain durable and safe for extended periods, reducing the risk of costly repairs and environmental hazards associated with pipe corrosion. Regular inspections and maintenance should be a top priority for anyone responsible for managing pipelines and infrastructure.